check

check

check

check
Title: Exploring the World of Raspberry Pi with Limit Switches
The Raspberry Pi has become a staple in the world of DIY electronics and home automation. Its small size, affordability, and versatility make it an ideal platform for countless projects. One such project involves using limit switches to enhance the functionality of a Raspberry Pi-based system. In this article, we will delve into the world of Raspberry Pi and explore how limit switches can be integrated into various applications.
What is a Raspberry Pi?
Before diving into limit switches, let's briefly discuss what a Raspberry Pi is. It is a single-board computer that features a microprocessor, memory, and storage, all on a small board about the size of a credit card. Since its introduction in 2012, the Raspberry Pi has been used for everything from basic computing tasks to complex robotics and Internet of Things (IoT) projects.
Understanding Limit Switches
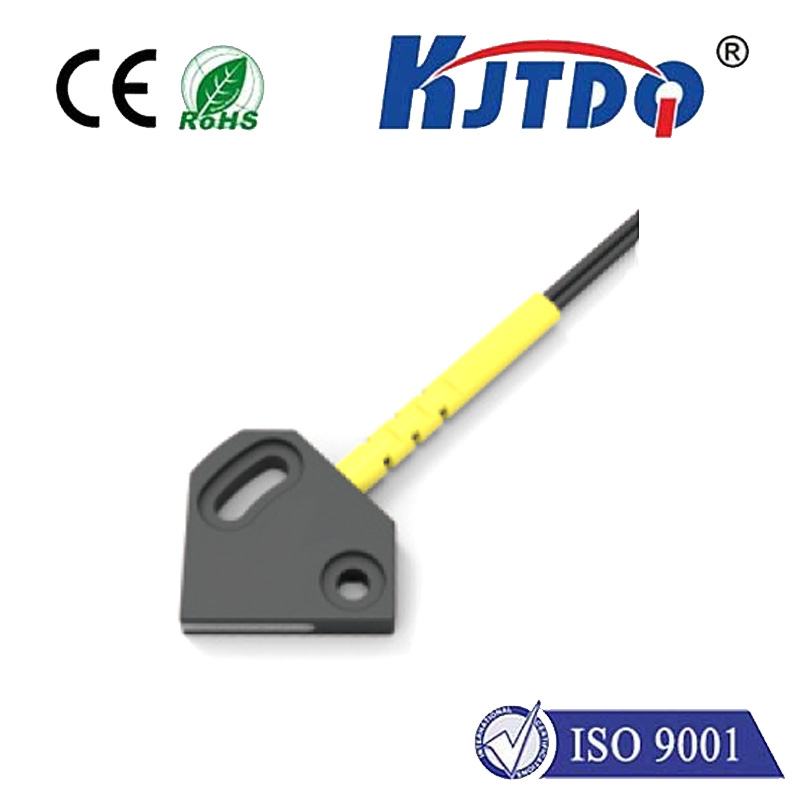
Now, let's talk about limit switches. A limit switch is an electronic device that detects the presence or absence of an object within its sensing range. When an object comes into contact with the switch, it triggers a signal that can be used for various purposes, such as stopping motors, counting objects, or providing feedback to a control system.

Integrating Limit Switches with Raspberry Pi
The integration of limit switches with Raspberry Pi adds another layer of functionality to your projects. By connecting a limit switch to your Raspberry Pi, you can monitor and control physical processes based on the state of the switch. Here are some examples of how limit switches can be used in conjunction with Raspberry Pi:
1. Controlling Motors: If you have a motorized system, such as a conveyor belt or robotic arm, limit switches can be used to stop the motor when it reaches a certain position. This prevents damage to your equipment and ensures precise control over movement.
2. Counting Objects: In manufacturing environments, limit switches can count the number of objects passing through a specific point. By connecting these switches to your Raspberry Pi, you can keep track of inventory levels and monitor production rates.
3. Security Systems: Limit switches can also be used in security systems to detect unauthorized access or tampering. For example, if a door or window is opened without proper authorization, a limit switch can send a signal to your Raspberry Pi-based alarm system to alert you of the breach.
Setting Up Your Raspberry Pi with Limit Switches
To set up your Raspberry Pi with limit switches, you will need some additional components, such as a breadboard, jumper wires, and potentially a relay module depending on the current and voltage requirements of your application. Once you have gathered all the necessary components, you can follow these general steps:
1. Connect the limit switch to the Raspberry Pi's GPIO pins using jumper wires and a breadboard.
2. Use software like Python or Scratch to program your Raspberry Pi to read the state of the limit switch and perform actions based on that input.
3. Test your setup by triggering the limit switch and verifying that your Raspberry Pi responds appropriately.
In conclusion, combining limit switches with Raspberry Pi opens up endless possibilities for creative and practical projects. Whether you're looking to automate a process or add an extra layer of safety to your system, integrating these two components is definitely worth exploring. So get creative and start building!
