English


check

check

check

check
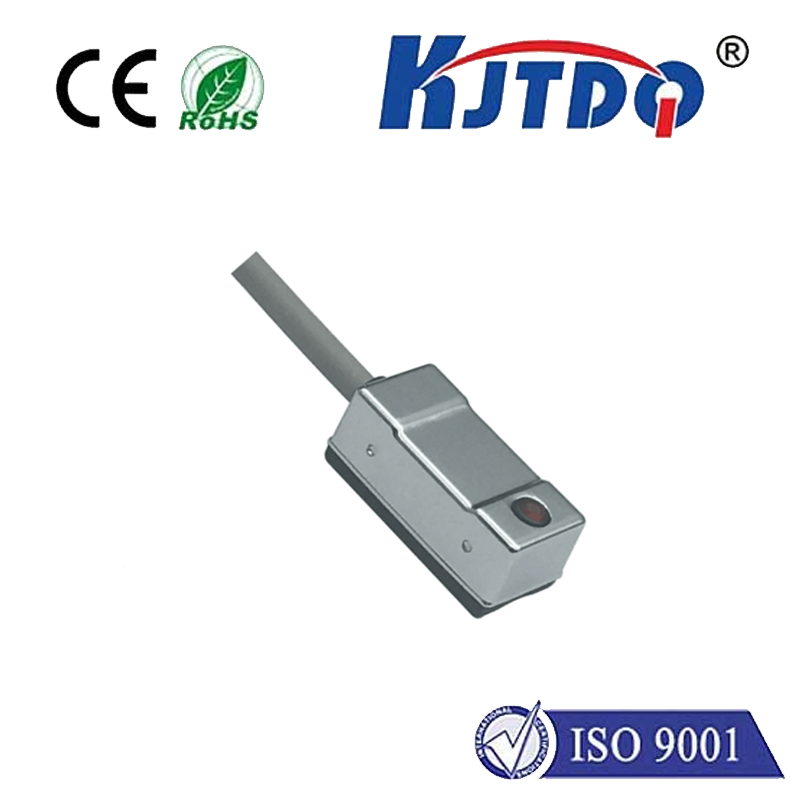
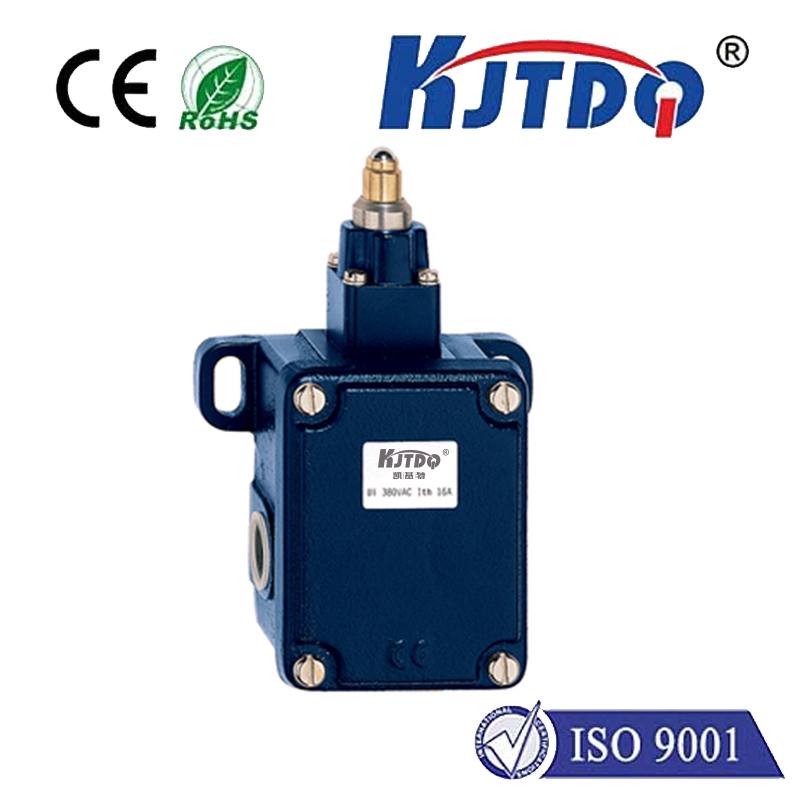
The limit switch is a critical component of a 3D printer, and its importance cannot be overstated. It is responsible for ensuring that the printer's movement does not exceed its physical limitations. In essence, it acts as a safeguard, preventing potential damage to the printer or printed object due to over-extension or collision.
The limit switch works by sending signals to the printer's control board when the printing platform reaches the end of its travel path in any given direction. This signal alerts the control board to stop or reverse the direction of movement, thereby preventing any further motion that could lead to harm.

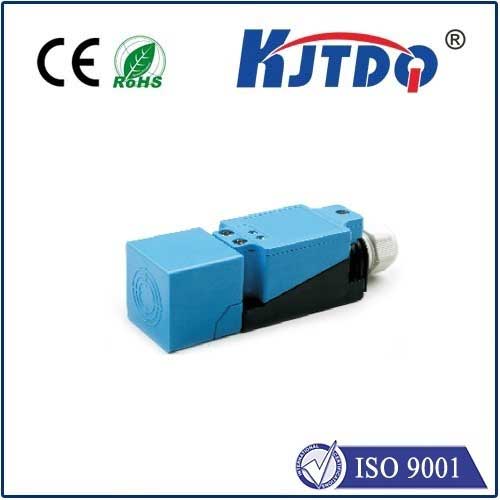
There are typically three limit switches on a 3D printer – one for each axis (X, Y, and Z). The X and Y limit switches are usually located at the front left corner of the build plate, while the Z limit switch is situated at the top center of the build plate.
To ensure that the limit switch functions correctly, it must be properly installed and calibrated. This involves positioning the switches accurately relative to the printing platform and adjusting the settings on the control board accordingly. Once installed and calibrated, the limit switch should work seamlessly with the rest of the printer's components, allowing for precise and consistent printing results.
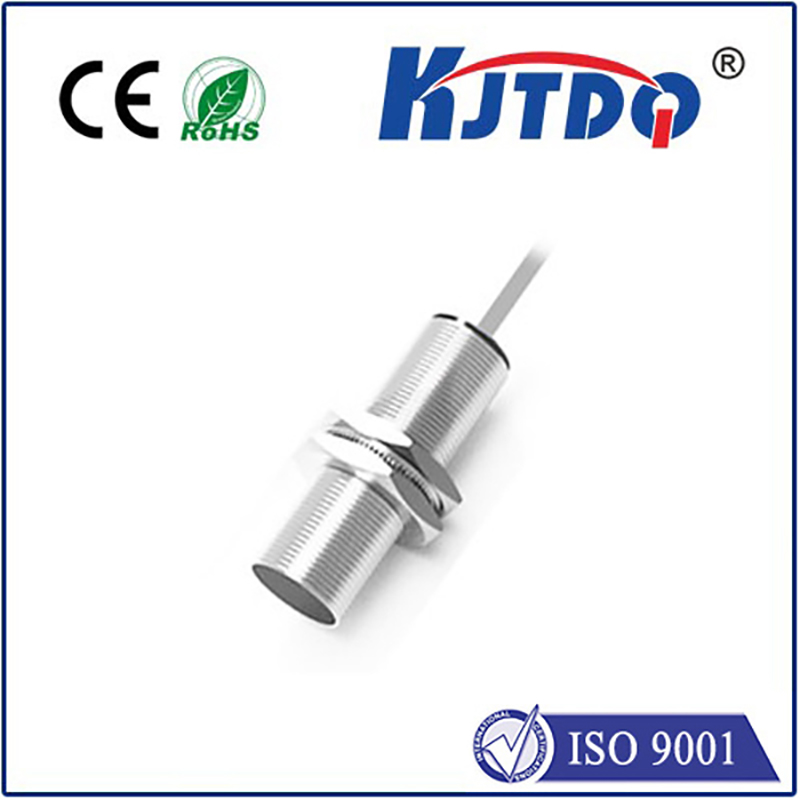
In conclusion, the limit switch is an essential element of a 3D printer that plays a crucial role in ensuring safe and accurate operation. By understanding how it works and taking proper care during installation and calibration, users can maximize their printer's performance and avoid costly repairs or replacements.