check

check

check

check
Photoelectric Sensor and Raspberry Pi: A Comprehensive Guide
The integration of a photoelectric sensor, also known as a photoresistor or light-dependent resistor (LDR), with Raspberry Pi opens up a world of opportunities for makers and hobbyists. This guide will explore the basics of how to use a photoelectric sensor with Raspberry Pi, highlighting the potential applications and the technical steps involved.
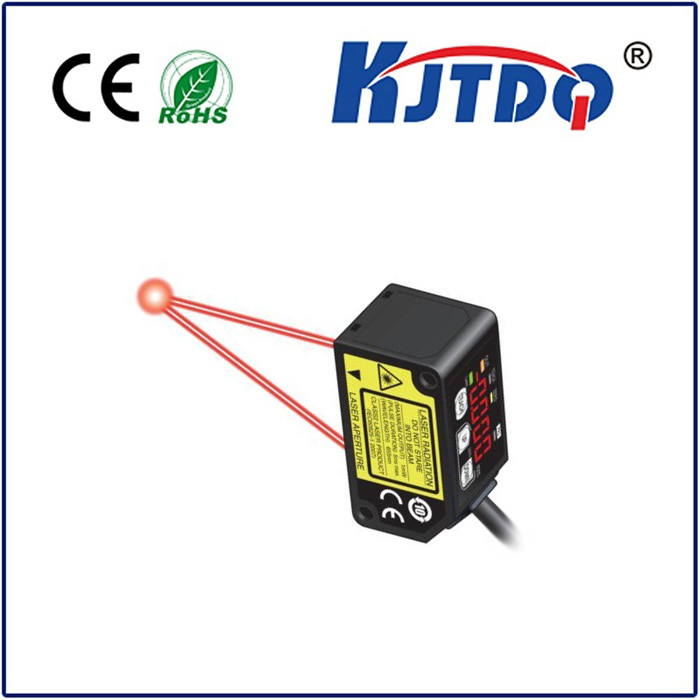
What is a Photoelectric Sensor?
A photoelectric sensor operates on the principle that its resistance value changes in response to variations in light intensity. When light falls upon it, the resistance decreases; in darkness, the resistance increases. This property makes it useful for detecting changes in light levels, which can be harnessed for various projects from simple lighting controls to complex environmental monitoring systems.
Why Use a Photoelectric Sensor with Raspberry Pi?
The combination of a photoelectric sensor and Raspberry Pi is particularly attractive due to the latter's capability as a mini-computer. The Raspberry Pi's ability to process data, control outputs based on inputs, and connect to the internet allows users to create sophisticated systems with relative ease. For instance, one might develop a system where an email alert is sent when a room's brightness level drops below a certain threshold – all by leveraging the photoelectric sensor’s data via the Raspberry Pi.
Getting Started with Your Photoelectric Sensor and Raspberry Pi
To get started with integrating a photoelectric sensor into your Raspberry Pi project, you will need the following components:
1. A Raspberry Pi (any model will do, but Raspberry Pi Pico is a popular choice for beginners)
2. A photoelectric sensor (photoresistor)

3. Jumper wires
4. Breadboard (optional but recommended for prototyping)
5. Basic coding knowledge (Python is widely used with Raspberry Pi)
Step 1: Connection
Connect the photoresistor to your Raspberry Pi by following these steps:
1. Identify the two pins of your photoresistor – power (connected to a resistor to limit current) and ground.
2. Connect the power pin to one of the digital I/O pins on the Raspberry Pi using a jumper wire.
3. Connect the other side of the resistor to a different I/O pin to complete the circuit.
4. Connect the second pin of the photoresistor to a common ground on the Raspberry Pi.
Step 2: Configuration and Coding
With the hardware connections set up, it's time to write some code to read the values from the photoresistor:
1. Write a script in Python to initialize the I/O pin as an input.
2. Read the values from the pin periodically to get the light level readings.
3. Implement logic to determine if the light level has crossed a preset threshold.
Step 3: Application Development
Now that you know how to retrieve data from your sensor, consider what you want your system to do:
1. Light sensitivity: Adjust indoor lighting based on natural light levels.
2. Security systems: Use changes in light level to trigger alarms or notifications.
3. Environmental logging: Log light levels over time for scientific study or agricultural purposes.
Conclusion
Integrating a photoelectric sensor with a Raspberry Pi offers both novice and seasoned developers a chance to delve into the world of physical computing. With the right components and some basic programming skills, you can create innovative solutions for light detection and control. Whether it's for home automation, security enhancements, or data collection, the possibilities are as boundless as your creativity.