English


check

check

check

check

check
check
check
check
check
check
Title: Mastering the Art of Garage Door Micro Switches: A Comprehensive Guide
Introduction
The garage door is an essential part of every household, providing convenience and security. Over time, it's natural for wear and tear to occur, leading to potential hazards such as malfunctioning garage door openers or sensors. One way to prevent these issues is by using garage door micro switches, which play a crucial role in ensuring the proper functioning of your garage door system. This article will provide an in-depth guide on understanding garage door micro switches, their importance, and how to install and maintain them correctly.
Understanding Garage Door Micro Switches
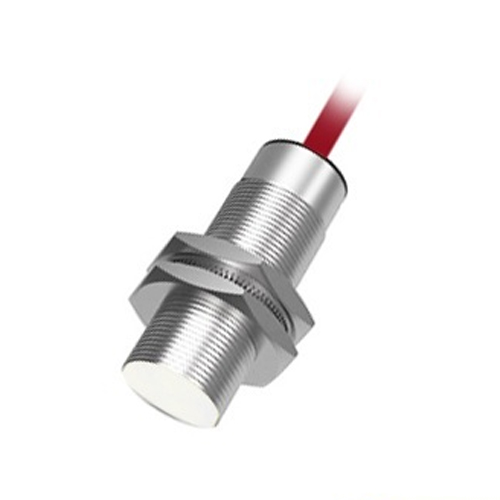
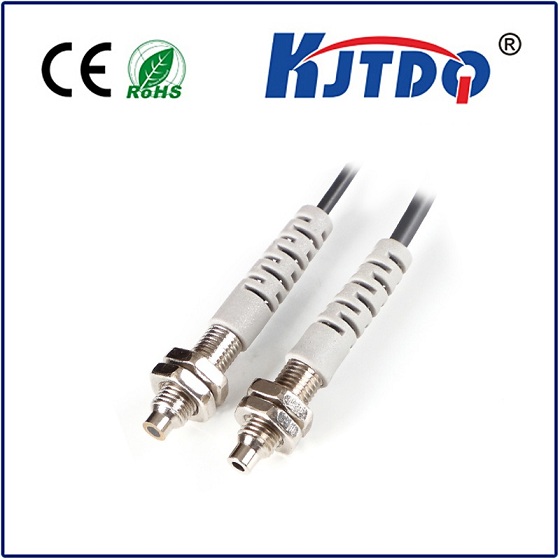
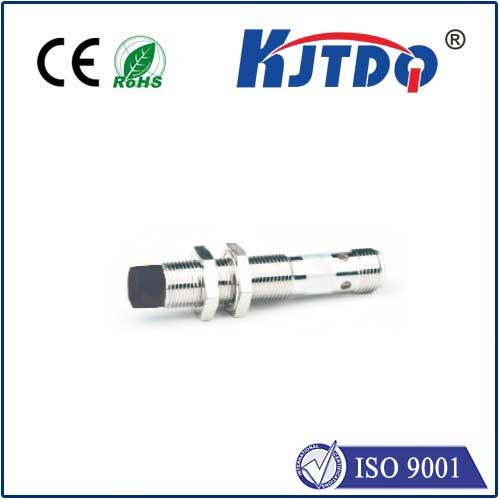
A garage door micro switch is a small electronic device that controls the movement of your garage door opener. It acts as a switch between the garage door motor and the opener controller, sending signals to either activate or deactivate the motor. These switches are often installed near the ceiling or on the wall of the garage, making them easily accessible for maintenance and repair.
The Importance of Garage Door Micro Switches
Garage door micro switches play a vital role in maintaining the safety and functionality of your garage door system. They help prevent accidents by preventing the garage door from opening when something is obstructing its path, such as a child or object hanging from the ceiling. In addition, they ensure that your garage door opens and closes smoothly and efficiently, saving energy and reducing wear and tear on your opener components.
Installing Garage Door Micro Switches
Installing a garage door micro switch is a straightforward process that can be completed with basic tools and knowledge. Here are the steps to follow:
1. Turn off the power supply to your garage door opener at the circuit breaker or fuse box.
2. Disconnect any existing micro switch from its wiring harness or terminal block.
3. Follow the manufacturer's instructions to determine the appropriate location for your new micro switch. Common locations include the ceiling or wall near the garage door opener.
4. Install the new micro switch according to the manufacturer's specifications, making sure it is securely fastened in place.
5. Connect the new micro switch to the wiring harness or terminal block of your garage door opener using wire connectors or soldering.
6. Turn the power supply back on at the circuit breaker or fuse box, then test your new micro switch by operating your garage door opener.
Maintaining Garage Door Micro Switches
To ensure the longevity and optimal performance of your garage door micro switch, it's important to regularly maintain it. Here are some key tips:
* Check for loose connections or frayed wires on a regular basis, and tighten any that appear to be loose.
* Avoid exposing your micro switch to extreme temperatures (above 100°F/38°C) or moisture, as this can cause damage to its components over time.
* If you notice any signs of wear or tear on your micro switch, such as rust or discoloration, consider replacing it with a new one promptly.
* Clean your micro switch regularly using a soft cloth dampened with mild soap and water to remove dirt and debris buildup. Do not use abrasive cleaners or solvents that could damage its surface.