
check

check

check

check

check

check

check

check

check

check
Content:
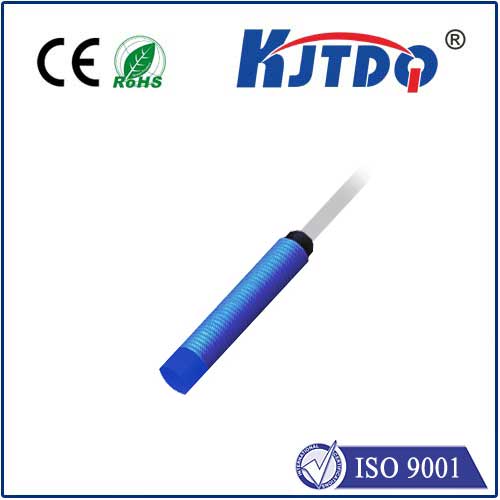
Introduction to M18 Proximity Sensor with PNP Non-Contact Switch
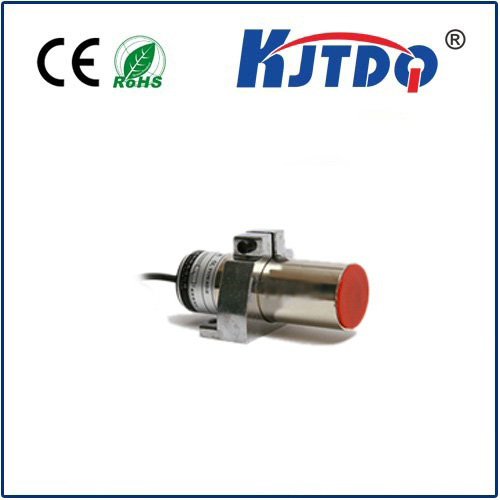
M18 proximity sensor is a widely used sensor that provides accurate and reliable distance measurements. It is designed for industrial, commercial, and consumer applications. The sensor features a PNP non-contact switch, which means it does not require any physical contact between the sensor and the device it is sensing. This makes it ideal for use in environments where physical interaction may be harmful or difficult to achieve. In this article, we will explore the benefits of using M18 proximity sensor with PNP non-contact switch and provide instructions on how to install and use the sensor.
Benefits of Using M18 Proximity Sensor with PNP Non-Contact Switch
One of the main benefits of using M18 proximity sensor with PNP non-contact switch is its ability to detect objects from a distance. This makes it useful in a variety of scenarios, such as detecting when an object is too close for safe operation, monitoring the position of moving objects, and controlling the activation of devices based on distance. Another benefit is that the sensor does not require any physical contact, which reduces the risk of damage to both the sensor and the device being sensed. Additionally, the sensor can be easily installed and configured without the need for specialized knowledge or tools.
Instructions for Installing and Using M18 Proximity Sensor with PNP Non-Contact Switch
To install and use M18 proximity sensor with PNP non-contact switch, you will need the following components:
* One M18 proximity sensor with PNP non-contact switch
* One microcontroller or other electronic device that can interface with the sensor (such as Arduino)
* Jumper wires or breadboard connections to connect the sensor to the device
Step 1: Connecting the Sensor to the Device
* Insert one end of each jumper wire into the corresponding pins on the M18 proximity sensor and the microcontroller or electronic device. Make sure to match the color code on each pin.
* Connect the other ends of the jumper wires to the appropriate power pins or ground pins on the device.
Step 2: Programming the Microcontroller or Electronic Device
* Open the programming software for your chosen microcontroller or electronic device.
* Upload a program that configures the sensor to operate in conjunction with the desired system or circuit. This may involve setting up interrupts, timers, or other functions to trigger when the sensor detects distance changes or other relevant events.
* Test the system by running a simple test program that illuminates a LED when the sensor detects an object within a certain range.
Conclusion:
Using M18 proximity sensor with PNP non-contact switch offers numerous advantages over traditional proximity sensors, including improved accuracy, no physical contact required, and ease of installation and configuration. By following the instructions outlined in this guide, you can quickly and easily integrate this powerful technology into your next project.
